Category: All About Guns


Gun makers and dealers in California will be required to block firearms sales to anyone they have “reasonable cause to believe is at substantial risk” of using a gun illegally or of harming themselves or others, under a new law that Gov. Gavin Newsom announced Tuesday that he had signed.
It’s a subjective requirement that goes farther than current background checks or prohibitions on selling guns to people prohibited from owning them.
The regulation is part of the new law creating a good conduct code for gun makers and dealers that also allows anyone who suffers harm from violations to sue.
The bill was one of more than a dozen adding to California’s already strict gun regulations that were sent to Newsom, a Democrat, by state lawmakers before they left for their monthlong summer recess.
The National Rifle Association said the requirements are vague and represent an attempt to hold gun dealers and makers liable for the actions of others. The new law, the group said, “seeks to frustrate law-abiding gun owners” with the goal of driving gun makers and dealers “out of business with frivolous litigation.”
The state’s firearm industry standard of conduct, starting in July 2023, will require those making, importing or selling guns to “take reasonable precautions” to make sure the weapons don’t fall into the wrong hands through sales or thefts.
That includes having “reasonable controls” to prevent sales to arms traffickers, straw buyers, those prohibited from owning guns, and anyone deemed to be at “substantial risk” of using the gun improperly.
The law is patterned after a New York measure that took effect last year to skirt a 2005 federal law blocking most liability lawsuits against gun-makers or dealers.
The New York measure declared such violations a “public nuisance,” taking advantage of a federal exemption that allows lawsuits when gun makers break state or local laws regulating the sale and marketing of firearms.
Delaware and New Jersey just enacted similar laws, and all contain provisions requiring firearms dealers to act responsibly, said Tanya Schardt, senior counsel and director of state and federal policy at the Brady gun control advocacy organization that sought the laws.
“There may be indicators or things that you see beyond just passing the background check that indicate to the dealer that they shouldn’t sell the gun,” she said.
“I would say the California law is more specific,” Schardt said. “But substantively I think it creates the same set of requirements, the same standards with regards to engaging in safe business practices.”
“It’s not asking someone to be psychic,” she added, but to take reasonable precautions in the same way that an automobile dealer could be liable for selling to a customer who is clearly drunk, for instance.
“It’s not creating liability, it’s not expanding liability beyond what’s reasonable … which is really the same standard that every other industry is measured against,” she said.
A federal judge in May rejected a challenge to the New York law by gun manufacturers and sellers.
Sam Paredes, executive director of Gun Owners of California, expects the California law will be challenged on the argument that it violates the federal law.
“The ability to be sued for doing something bad is already there,” he said, noting that gun makers and dealers are liable for any illegal activity. “This is the anti-gun side’s way of looking for a deep pocket.”
The law will allow the California attorney general, city and county attorneys and victims of gun code of conduct violations to sue gun retailers or manufacturers for civil damages.
“Nearly every industry is held liable when their products case harm or injury. All except one — the gun industry,” Newsom said in a video Tuesday announcing that he had signed the bill on Monday.
With the new law, he said, “gun makers will finally be held to account for their role in this crisis.”
California’s law allows gun makers and dealers to also be sued for alleged violations of other laws, including false advertising, unfair competition or deceptive acts or practices.
“Hitting their bottom line may finally compel them to step up to reduce gun violence by preventing illegal sales and theft,” said the bill’s author, Democratic Assemblyman Phil Ting.
The law will also prohibit manufacturers and retailers from making, importing or selling guns or related products that are “abnormally dangerous and likely to create an unreasonable risk of harm.”
That could include kits for building untraceable “ ghost guns,” “ bump stocks ” that increase the rate of fire for semi-automatic weapons, or “ bullet button ” assault weapons that allow for rapid reloading.


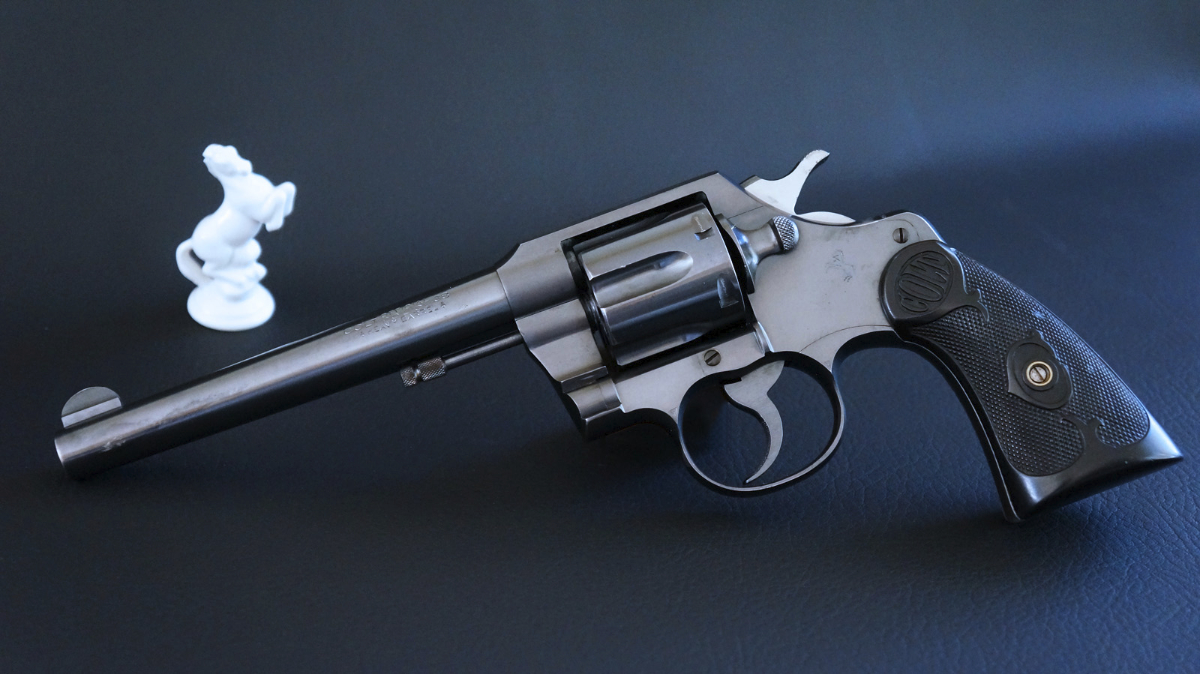
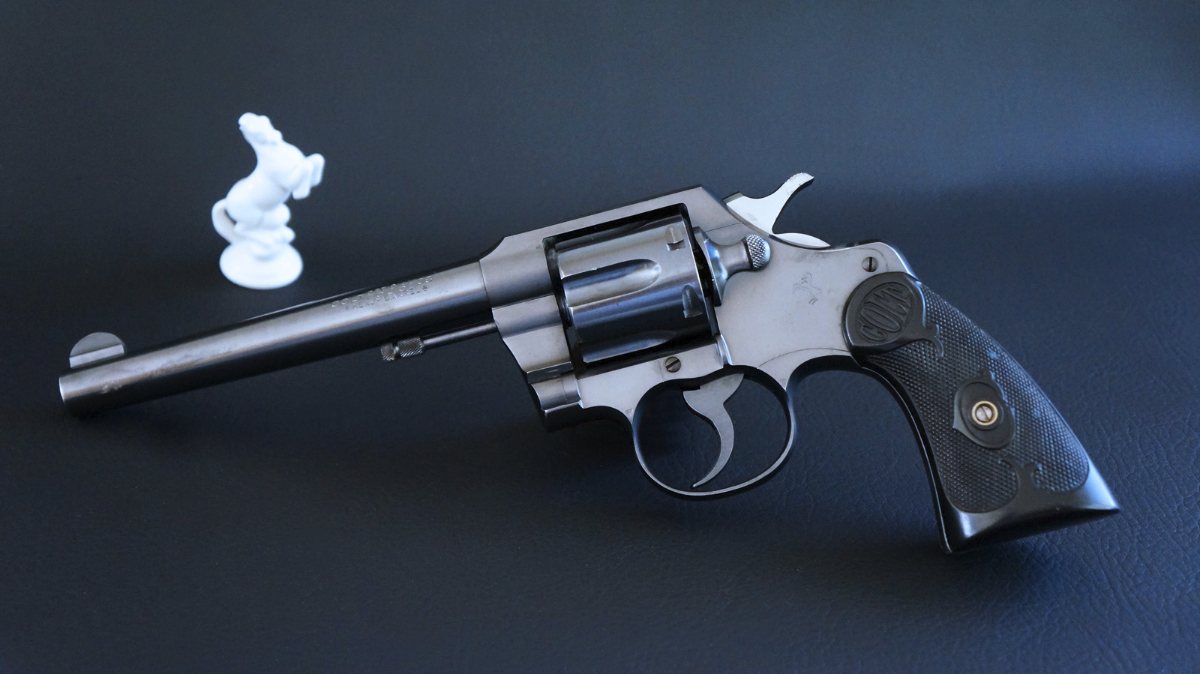
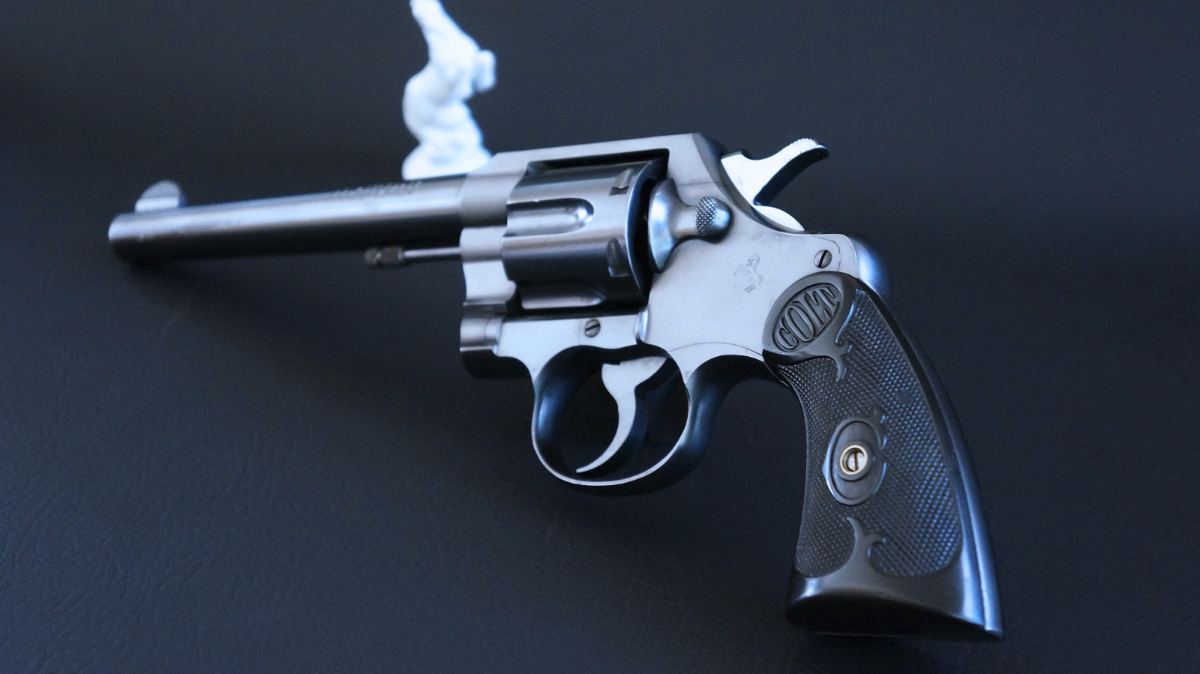
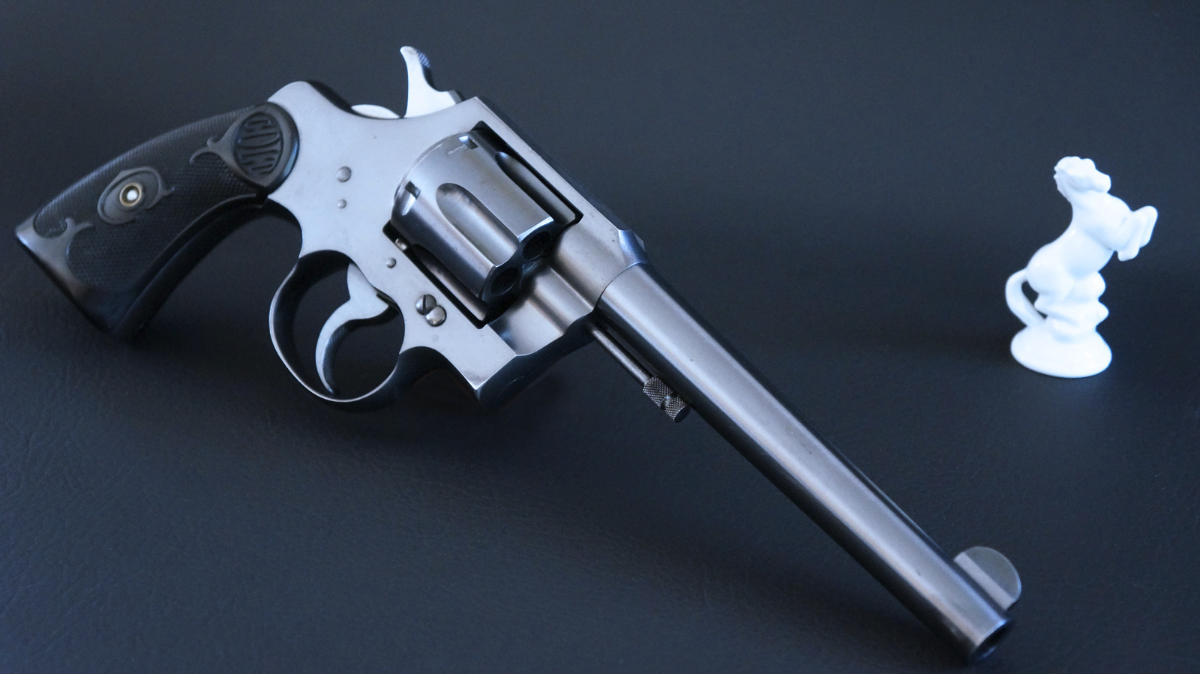
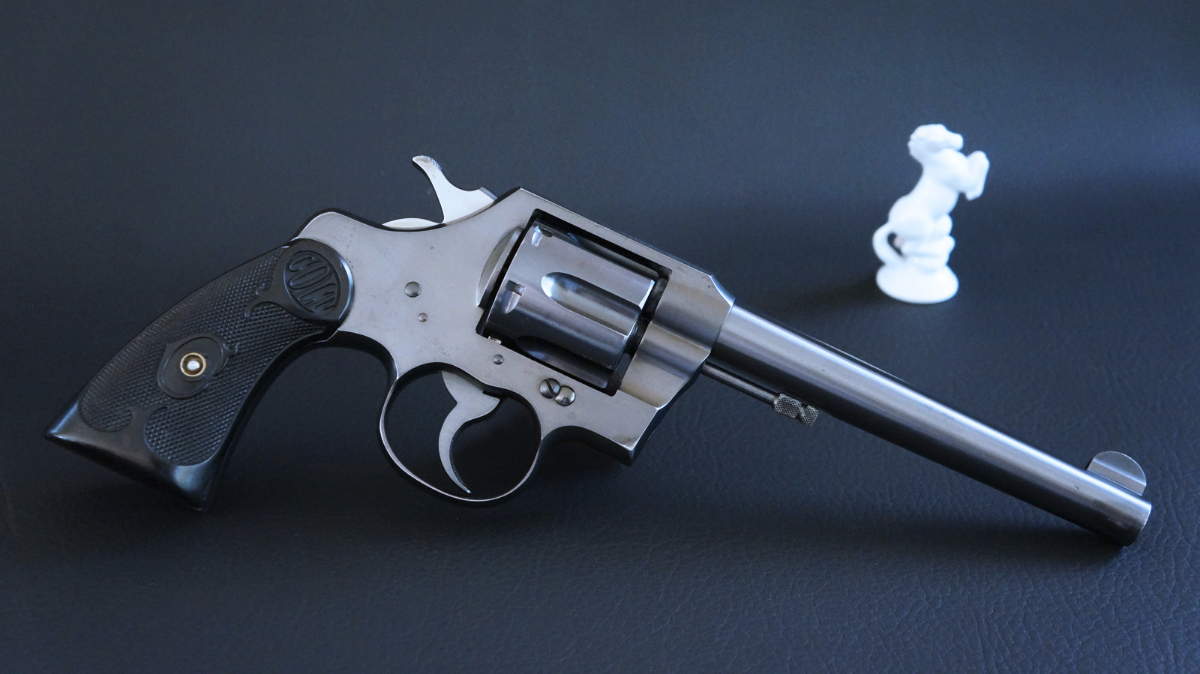
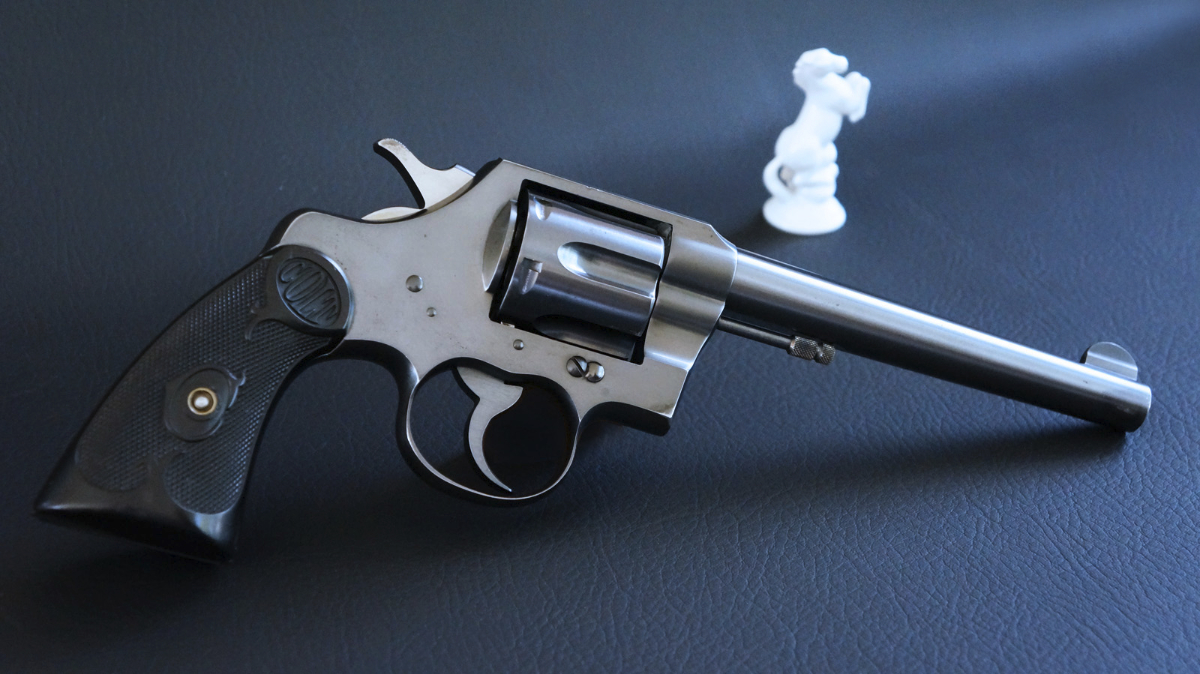
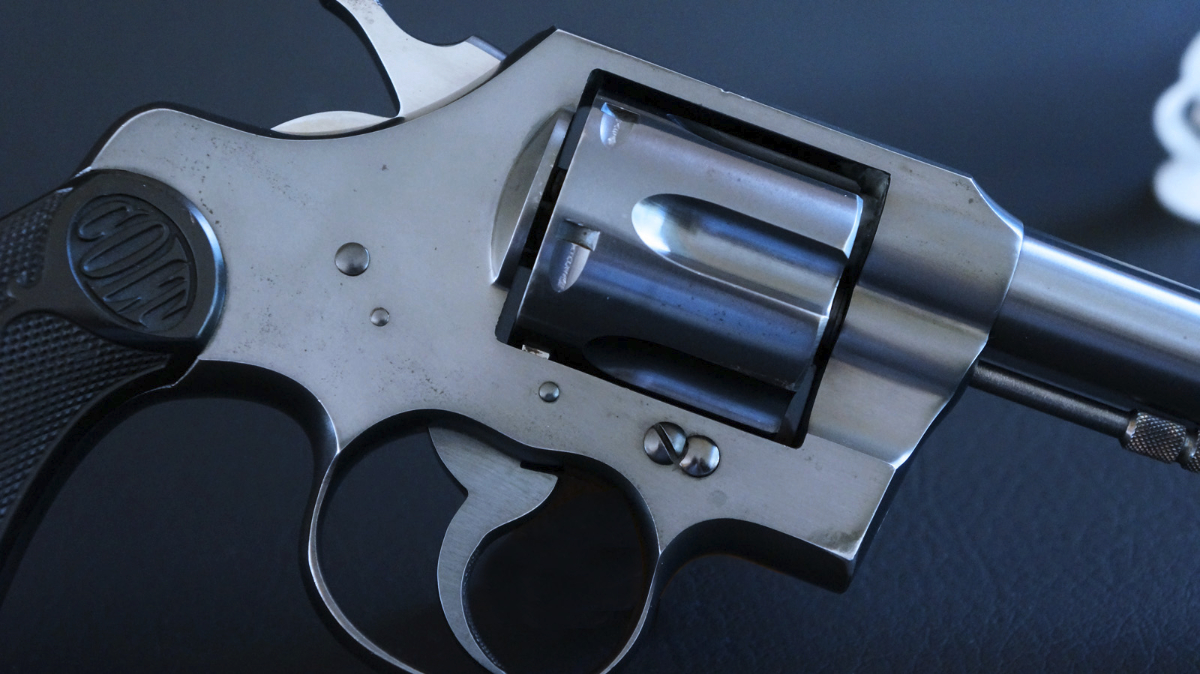
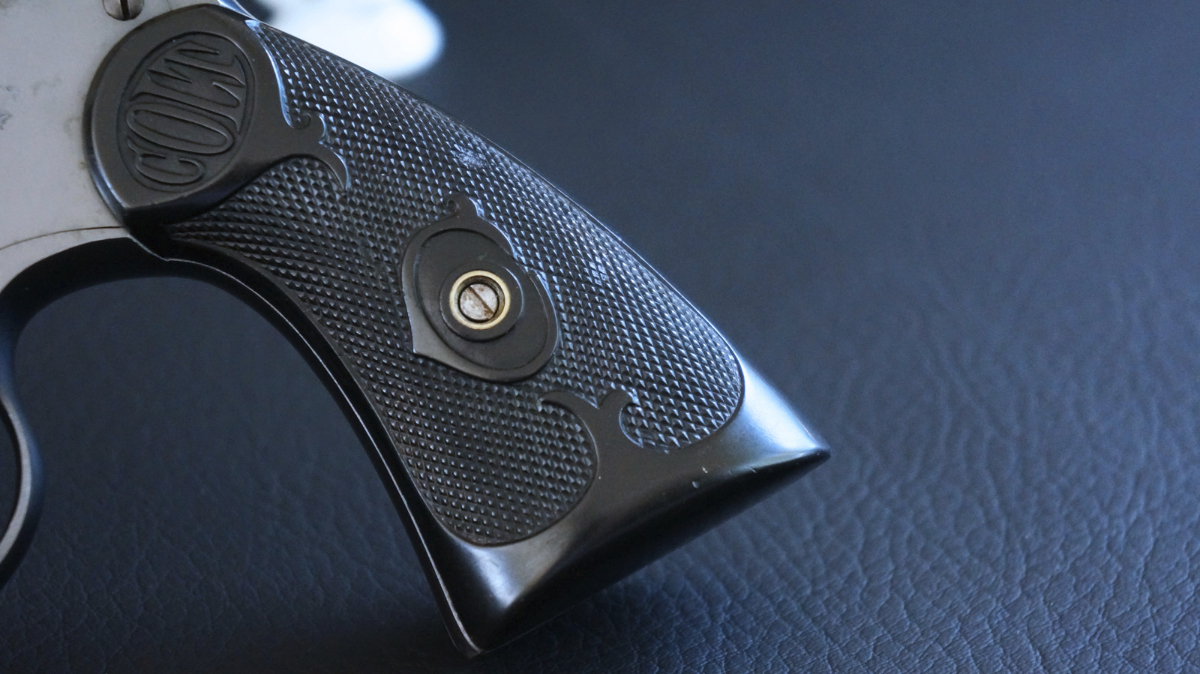
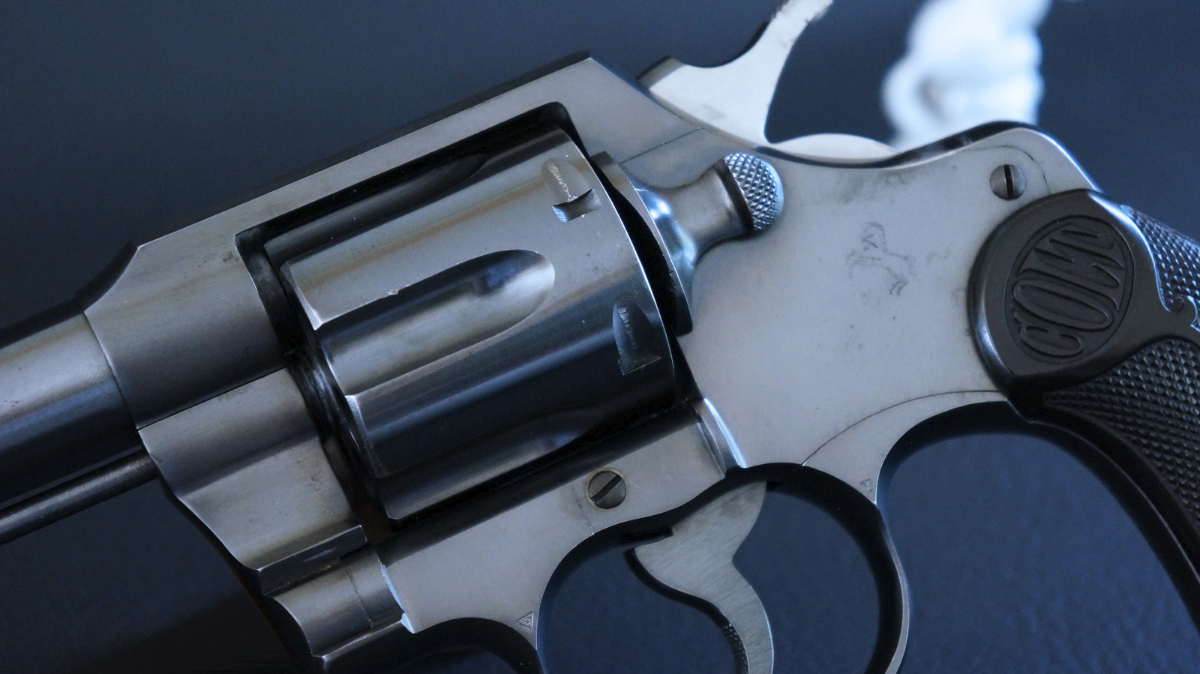
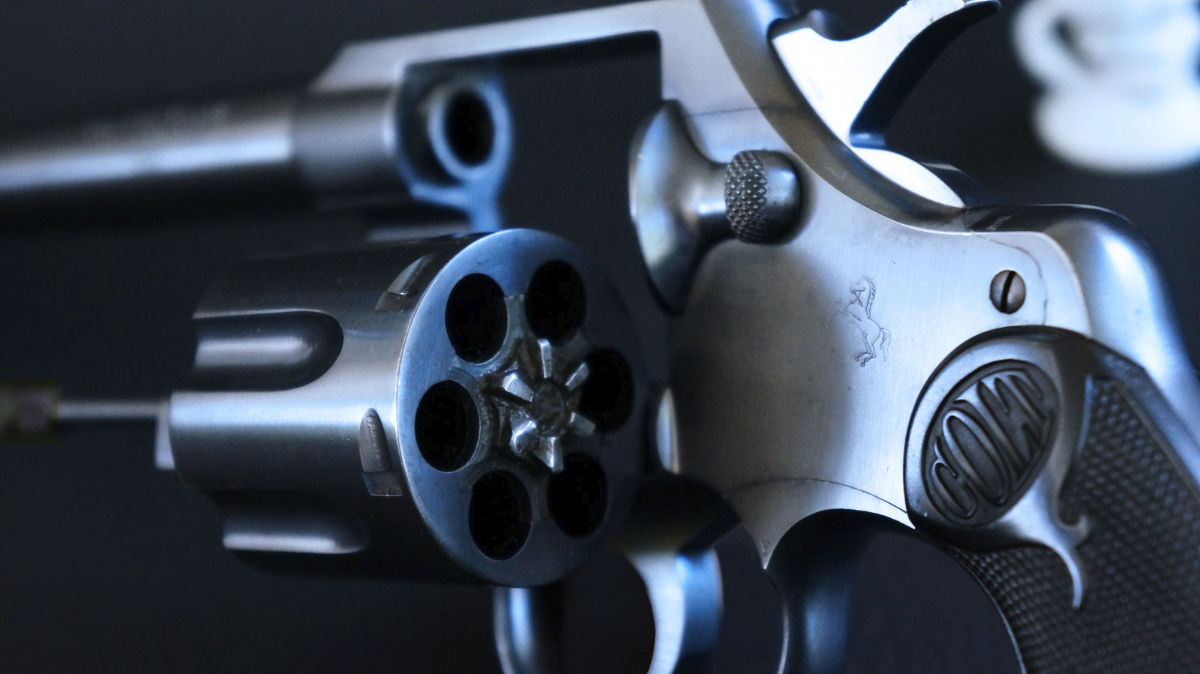
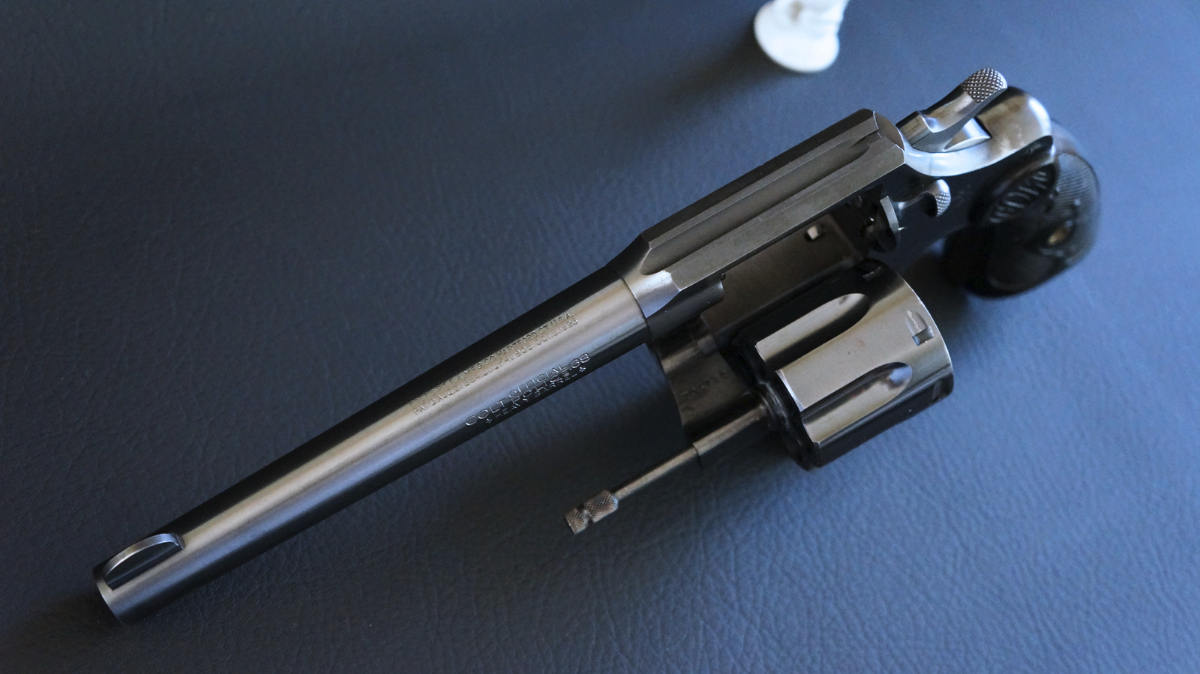
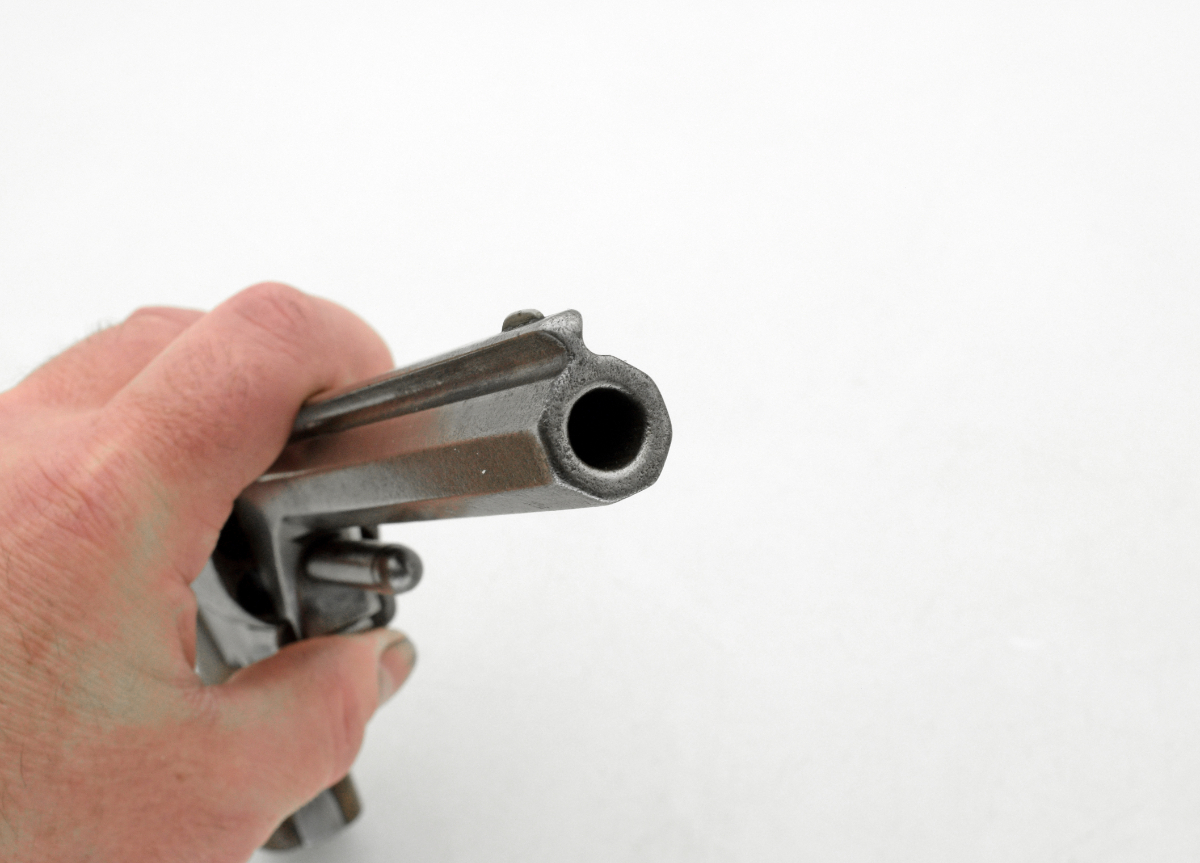
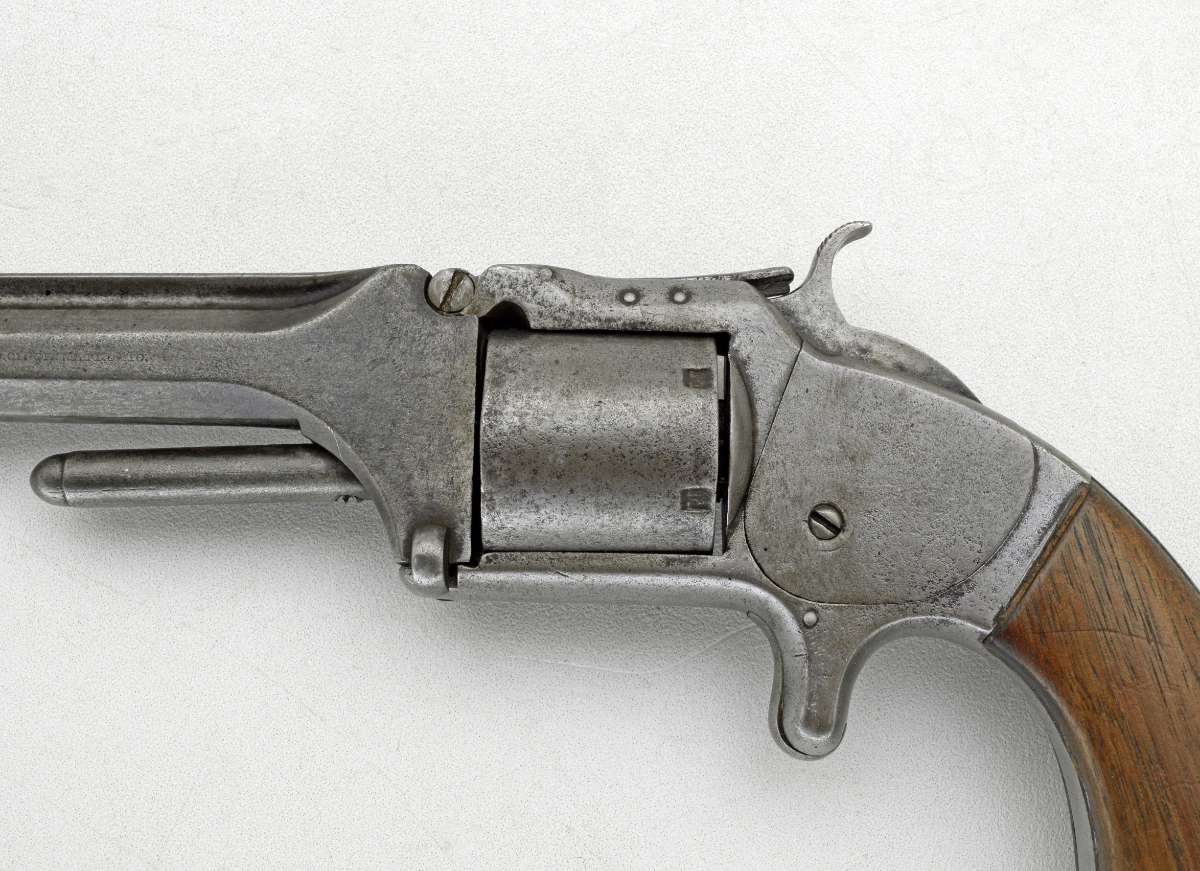
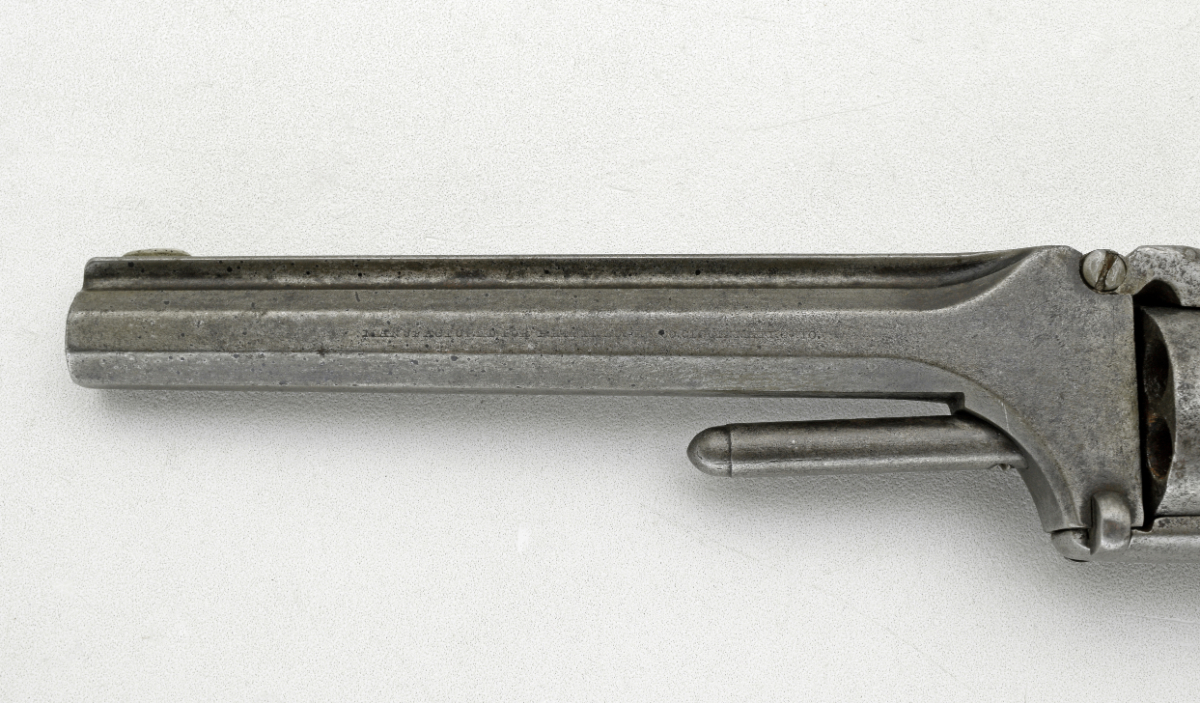
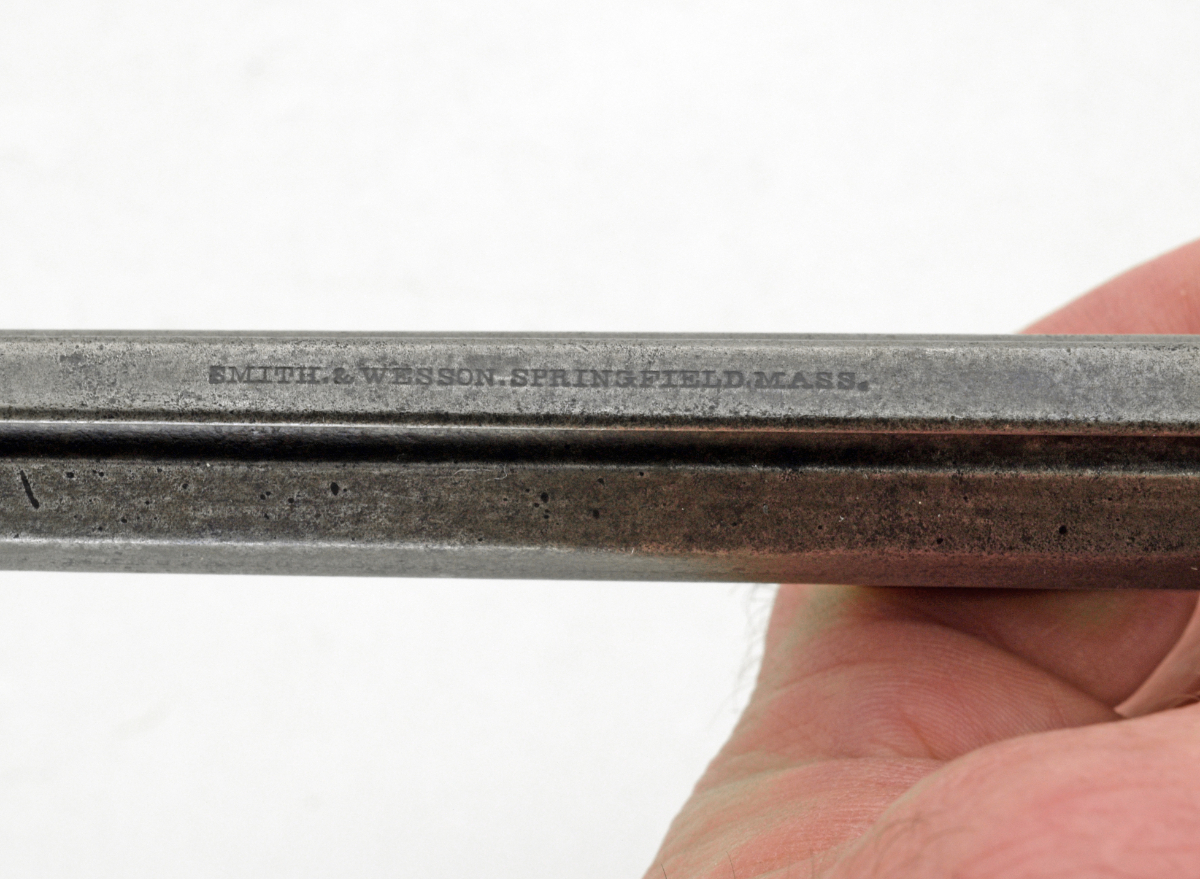
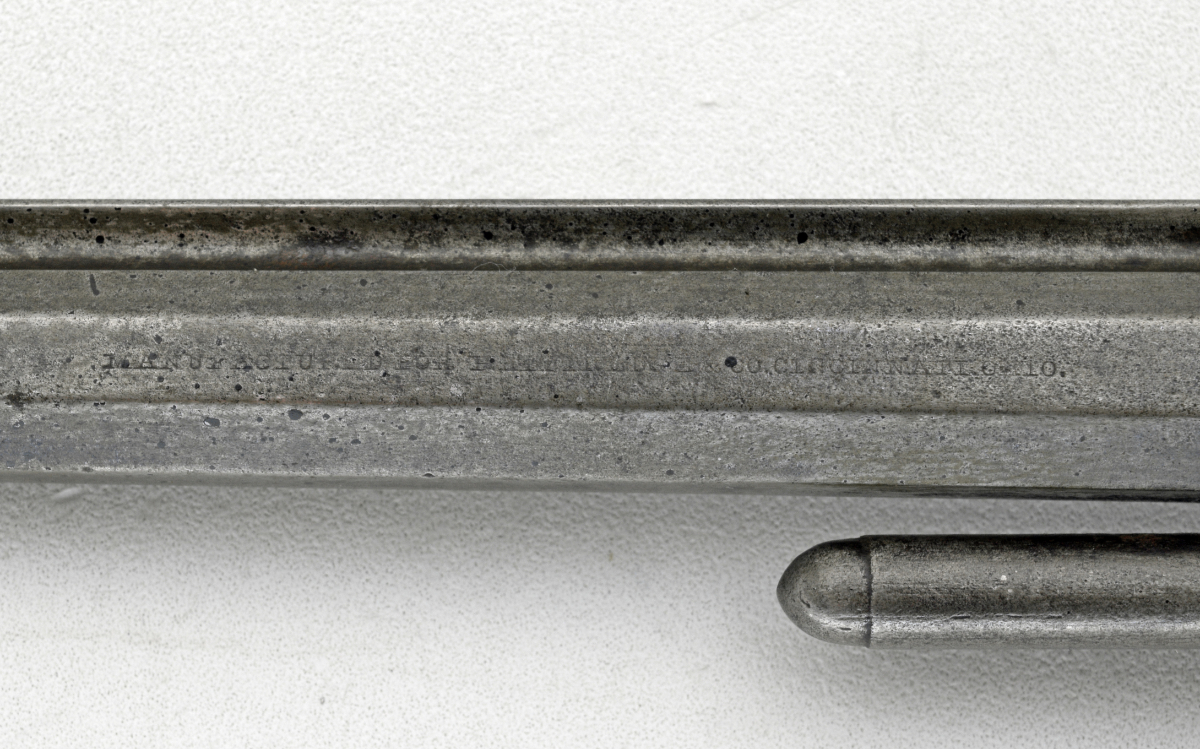
 These shotguns look mighty high end to me! Maybe I should go on Welfare out here! (Oh Hell No!) Grumpy
It was December 7, 1944, and PFC Akio Shimizu faced his imminent death resolutely. After the spectacular attack on Pearl Harbor, the world had seemed ripe for conquest. Since then, however, so much had changed. Now he sat, lost in thought, strapped inside the bowels of a lumbering Ki-57 transport as it droned toward the Philippine island of Leyte.

What had begun as glorious victory had inexorably turned into something else entirely. The sleeping giant awakened exactly three years before had ground its way across the Pacific like some kind of ghastly leviathan. Now it stood poised to threaten Shimizu’s home islands. For that, and his emperor, Akio Shimizu was now prepared to die.

The B-29 Superfortresses rained death down on his country every day the weather allowed, and each week there were quiet rumblings of some new battlefield defeat or other. His company commander, Captain Ogawa, had explained with great verve how this final parachute assault would finally turn the tide of the war back in favor of the Empire, but Akio wasn’t a fool. Shimizu and his comrades would spend themselves fruitlessly against this great steel monster, like waves against the rocks, but they would die with honor and glory. That was what was important.

PFC Shimizu was distracted by a flash outside his porthole window. He suddenly saw another of the transports disintegrate under the concentrated fire of an American Marine Corsair. This indeed frightened Shimizu. He wanted to give his life in combat with the enemy, not in some random ball of fiery chaos. To his relief, after some exceptionally violent maneuvering, the jump light showed red. Shimizu and his mates stood up, fastened their static lines, and made ready.

They jumped lower and faster than they ever had in training, but at least he was outside of that accursed airplane. Yellow tracers arced across the darkening sky like strings of fiery pearls, connecting with many of his friends during the descent. Miraculously, PFC Shimizu hit the tarmac more or less intact.
Shimizu released his parachute and rolled into the grass alongside the freshly built runway. He retrieved his TERA Type 2 paratrooper rifle from its case and assembled it by feel in the dark, an action he had performed hundreds of times blindfolded. Using rote muscle memory, he mounted a five-round stripper clip atop the open action and rolled the bolt home. PFC Shimizu then took off toward the growing flames at a trot.

PFC Shimizu jogged around the corner of a shipping container and ran headlong into a young American about his same age. The look in his wide eyes was one of utter terror. Shimizu reflexively raised his rifle, but the American had the better angle. His three carbine rounds struck the luckless Japanese paratrooper in the chest.
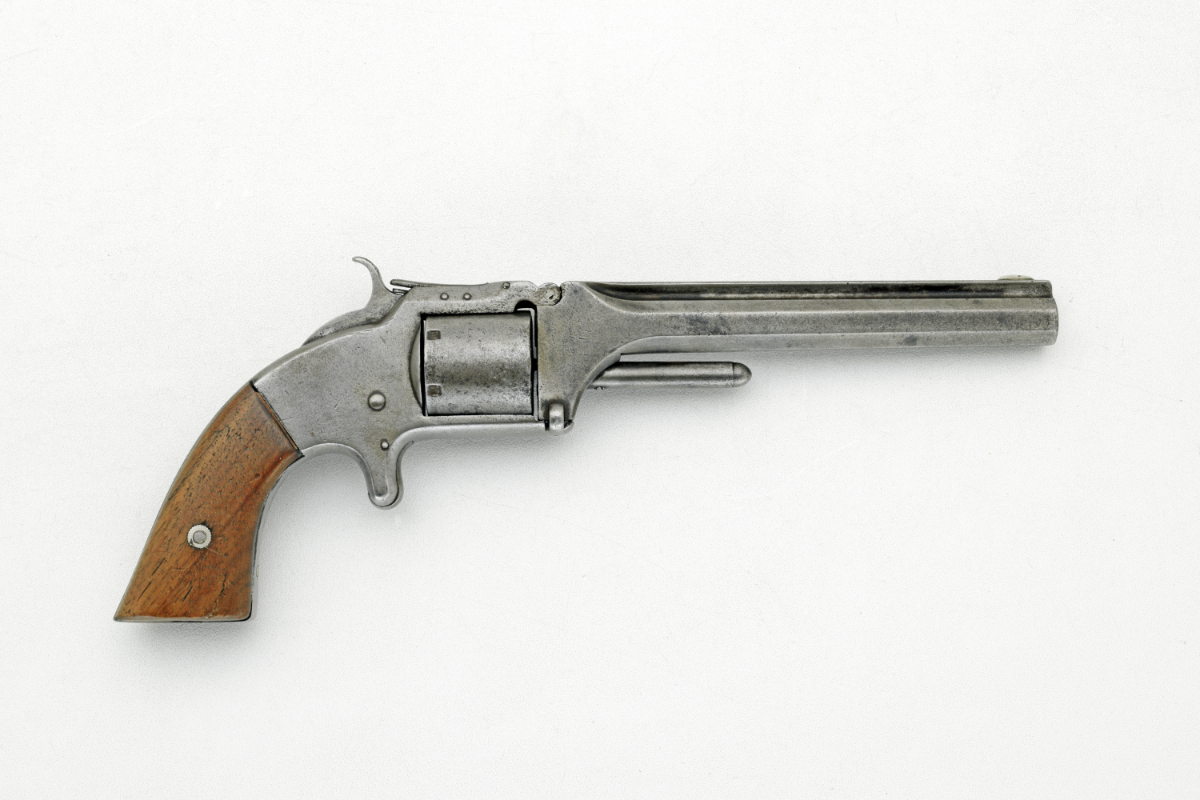
The youthful soldier bled out across the pierced steel runway material beneath the last mournful rays of the dying sun. The following morning, the American aviation mechanic relieved Shimizu’s corpse of his rifle, cigarettes and letters home. The weird paratrooper takedown weapon made it into his duffle bag, and eventually, it came to me.
The Fight
Japanese airborne forces conducted three different paradrop assaults during the course of World War II. The third operation involved some 750 elite sky soldiers marshaled as a strategic reserve to be spent in a decisive assault that was actually hoped might turn the tide of the war. This bold undertaking was obviously doomed from the outset.

Half of the transports fell to Allied fighters and anti-aircraft guns en route. The static line failed on one plane, violently spilling its entire stick of airborne soldiers onto the rocky Philippine earth when none of their parachutes deployed. The surviving paratroopers hit the airfield at dusk and were eventually obliterated. They destroyed a handful of L-19 Bird Dog spotter planes, but otherwise died for nothing. The following morning the victorious Americans claimed their souvenirs, burned off the ammo, and buried the bodies in a communal grave.

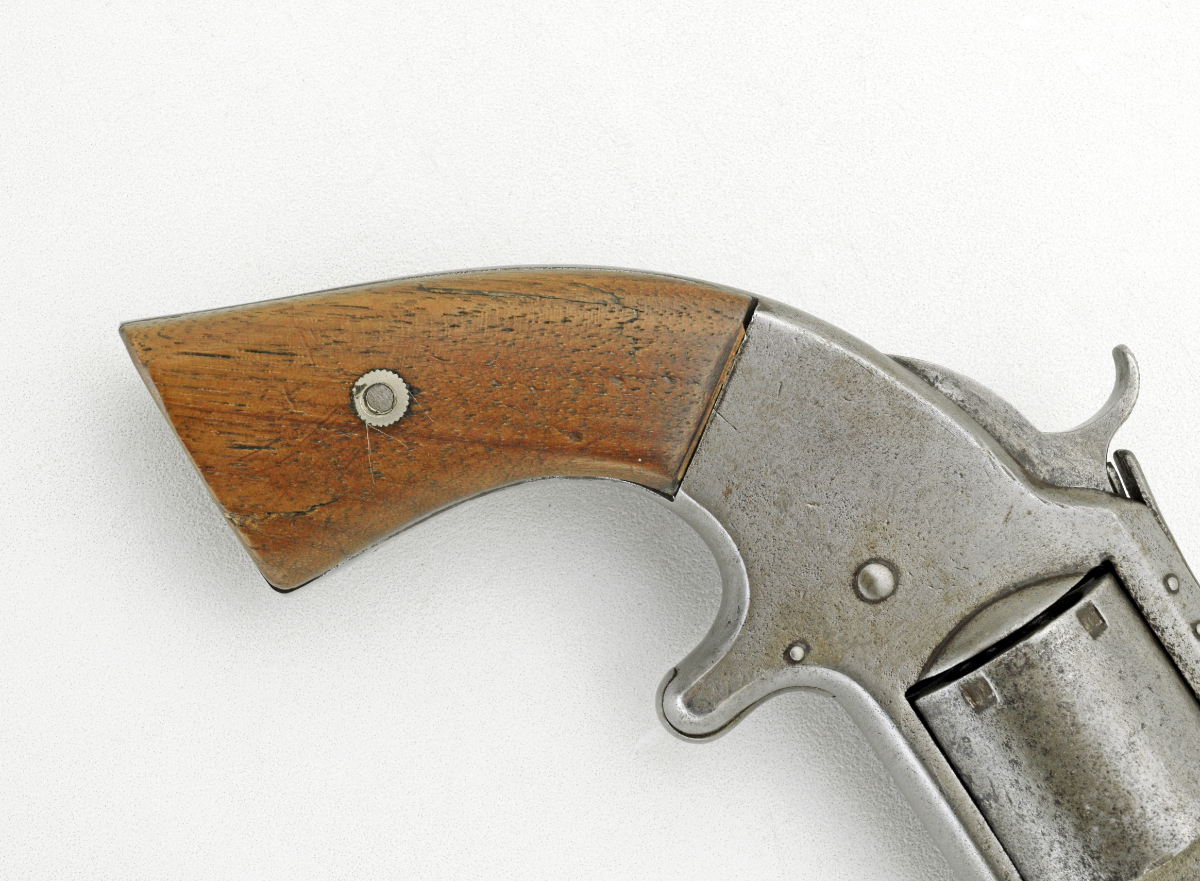
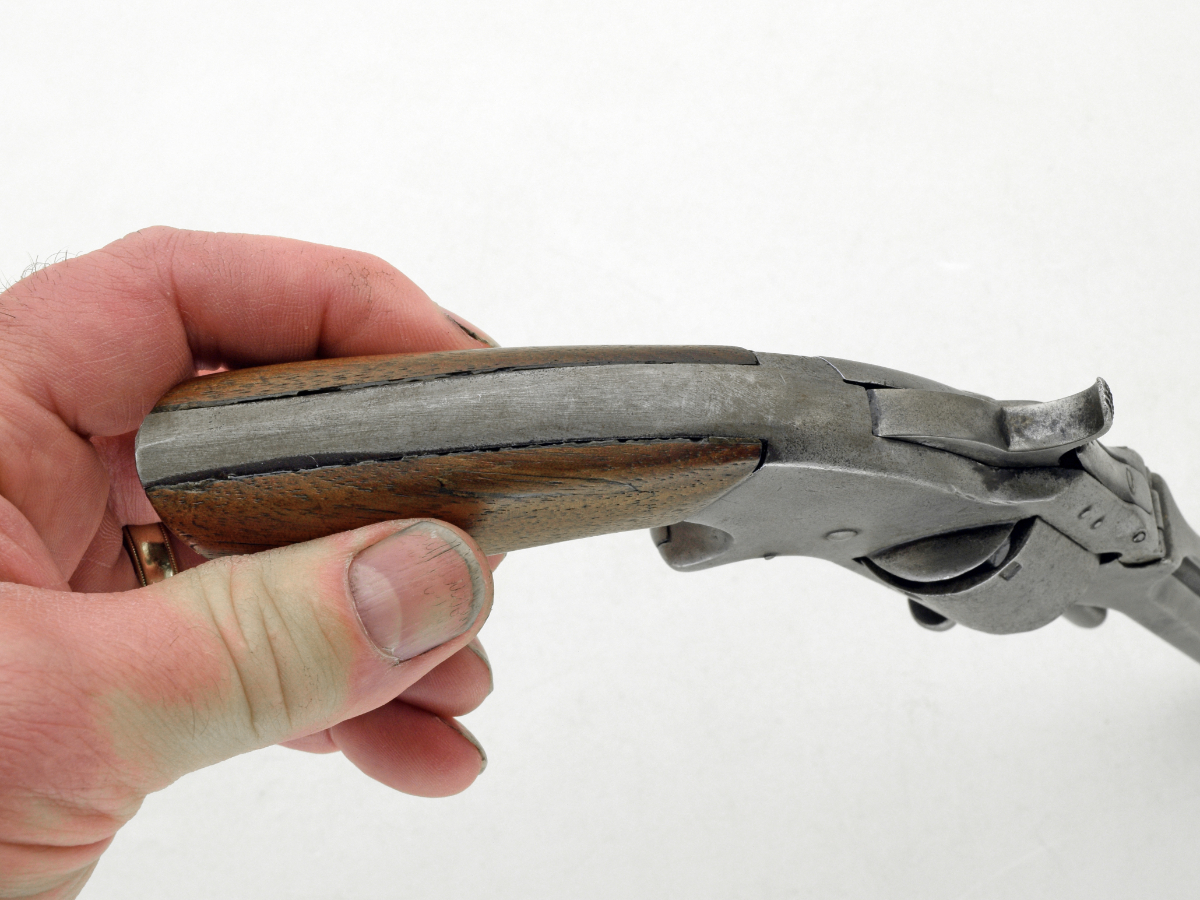
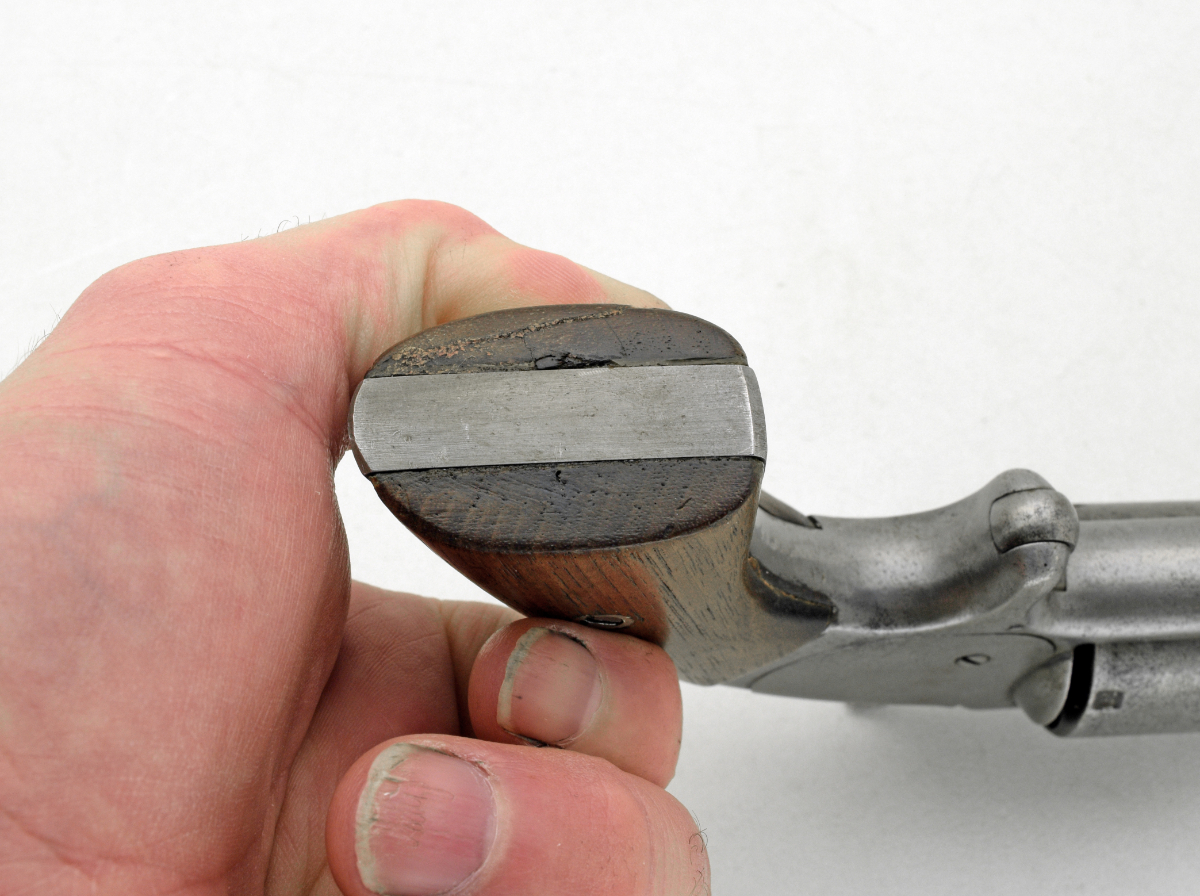
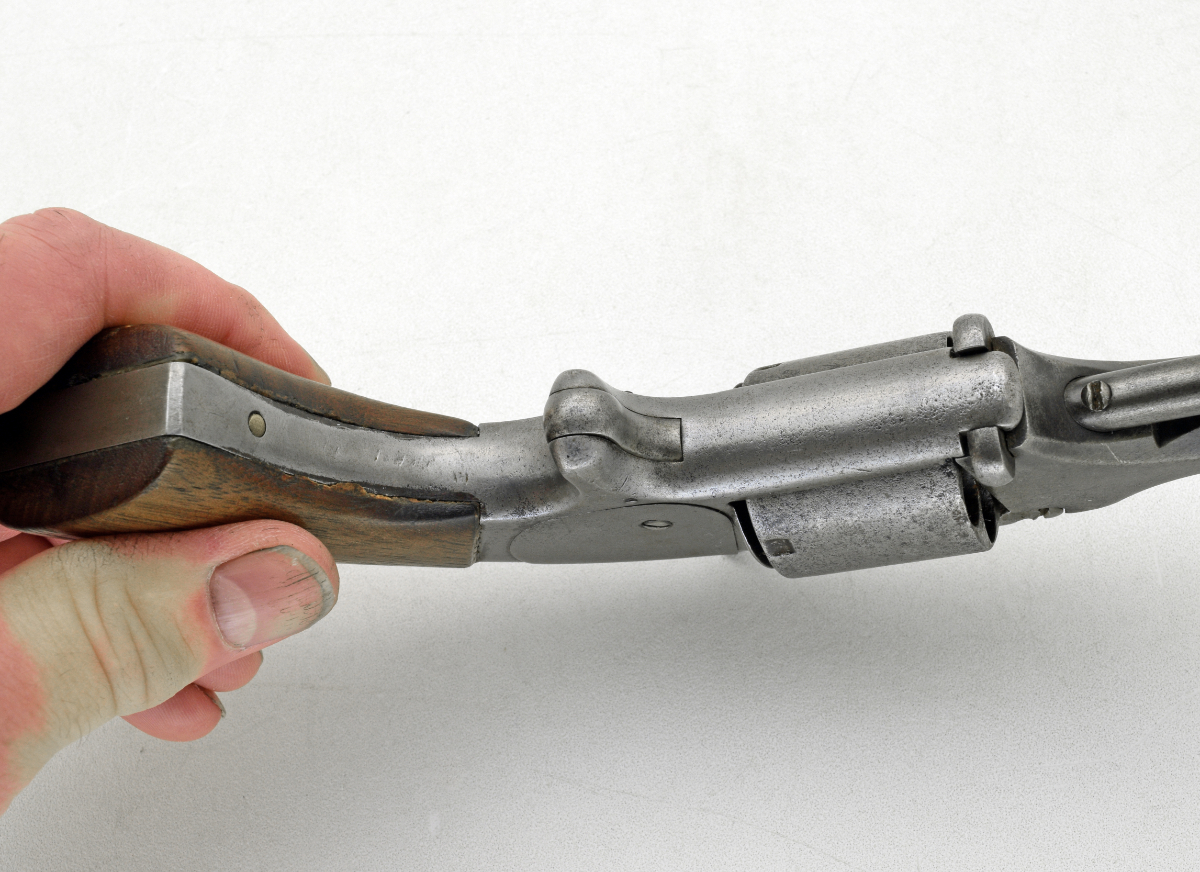
The Japanese invested a fair amount of effort and treasure developing specialized weapons and equipment to support their modest airborne arm. A dedicated paratroop version of the Type 99 machinegun had a removable buttstock and a folding steel pistol grip. Once broken down, the entire gun could be readily carried by a single soldier. Their TERA Type 2 paratrooper rifle was held together by a clever threaded steel wedge. Many, if not most, of the Japanese paratrooper weapons available on the surplus market today were captured in this one battle on Leyte.
The TERA Type 2 Paratrooper Rifle
The TERA Type 2 paratrooper rifle was an evolutionary development of the standard Type 99 that was itself an improvement on the previous Type 38. TERA is a contraction of the Japanese term Teishin Rakkasan, which translates literally as “Raiding Parachutes.” The Type 38 fired a modest 6.5×50 mm round. The subsequent Type 99 was chambered for the more powerful 7.7x58mm machinegun cartridge. The Type 99 was one of the first military rifles to be equipped with a chrome-lined barrel.

A total of 3.5 million copies of the standard Type 99 were produced in nine separate facilities by the end of the war. One factory was in China, and another in Korea. The other seven were in Japan proper. Designed in 1942, all the Type 2 paratroop rifles were produced at the Nagoya Arsenal between 1943 and 1945.

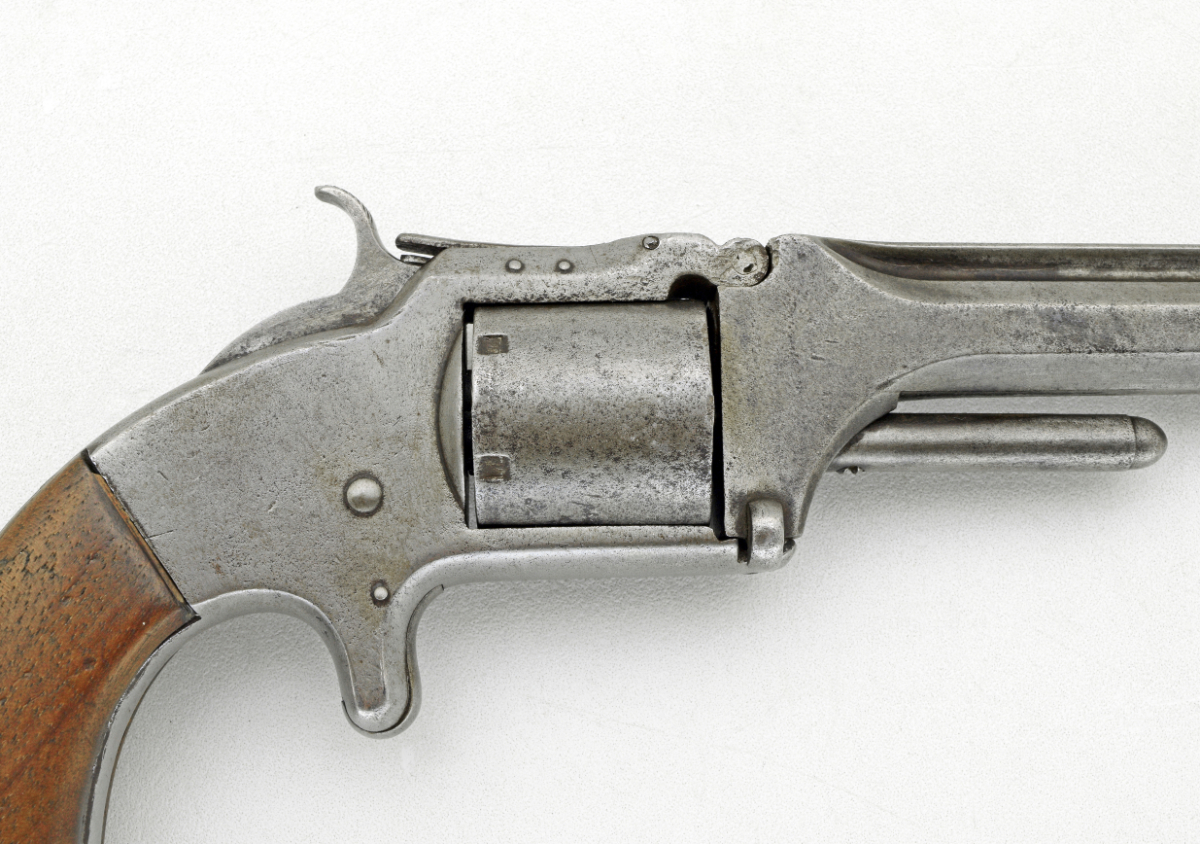
The Type 2 fed from the top via five-round stripper clips. The action cocked on closing like that of the esteemed British Lee-Enfield. The safety was an oversized round button on the back of the bolt. The best way to manage this component was to press in with the palm of the hand and rotate.

There were originally several disparate takedown paratrooper designs. The Type 2 was the most common, with some 21,200 copies produced. Most of these paratrooper rifles incorporated the ludicrously complicated folding anti-aircraft sight of the early standard infantry rifles. This contraption sported folding wings, each of which was marked with a “2” and a “3.” The theory was that one might use this device to determine lead for a passing enemy aircraft. The numbers refer to the speed of a crossing airplane in hundreds of kilometers per hour. Good luck figuring that out while under fire.
Denouement
The Type 2 Japanese paratrooper rifle was a curious footnote to the pantheon of small arms employed during World War II. This inspired takedown design would indeed fit into a leg bag for parachute operations. The Type 2 allowed the individual paratrooper to jump with this primary weapon on his person rather than in some separate, hard-to-find weapons canister. However, none of that really mattered.
Despite their undeniable gallantry, those 750 Japanese paratroopers were dead before they even took off that fateful night. Most of them likely knew this as they kitted out. Regardless, they climbed aboard those rickety planes and jumped over a hostile airfield in a doomed effort at slowing the oncoming American juggernaut. That they failed so utterly was certainly not for lack of courage.
Special thanks to World War Supply for the cool replica gear used in our pictures.