Category: All About Guns

WELCOME, Md. — The complaints about the property on Fire Tower Road were urgent but not too far out of the ordinary in this rural stretch of Southern Maryland: Earsplitting gunfire, endangered cows, a stray bullet that pierced a neighbor’s equipment shed.

Moorish Americans take over a rural gun range, sparking a strange showdown© Eric Lee/For The Washington Post
But that was before the would-be heirs to a mythical North African empire moved in, claiming their dominion extends not only over the lost island of Atlantis but also over five acres in Charles County.
The episode began when gun enthusiasts started getting together on Sundays for target practice at the wooded property of 64-year-old Byron Bell.
")
Liswa Hawkins, 27, center, shows people how to shoot during a Handgun Qualification License class at the gun range in July. (Eric Lee for The Washington Post)
As the gatherings grew bigger, along with the caliber of weapons and the number of rounds discharged, they drew the ire of neighbors even in this sparsely populated and gun-friendly area.
Yet it was after county officials took action, deeming the site an unlawful firing range and filing an injunction to stop it from operating in September, that events took several unexpected turns.
That was when a group calling itself Moorish Americans — an offshoot of the extremist “sovereign citizen” movement whose members believe they are immune from dealings with U.S. legal and financial systems — essentially took over the range, declaring it “protected under the consular jurisdiction of Morocco.”
There followed arrests, flurries of spurious legal documents and hundreds of thousands of dollars in fines, all to the accompaniment of what neighbors describe as an ongoing din of gunfire on weekends. Things escalated last week when sheriff’s deputies raided the property, seizing what Bell said were about a dozen firearms.
The saga in Welcome, an agglomeration of tumbledown farmhouses and newly built homes roped together by winding country roads, highlights several enduring American loves: Guns, conspiracy theories, property rights and fruitless litigation.

William Tomlinson, 75, complained about excessive gunfire from a neighboring gun range, which eventually led to a decision by Charles County officials to shut it down.© Peter Jamison/The Washington Post
William Tomlinson, who owns a farm that backs up to Bell’s property, said decisive action by law enforcement was long overdue. Tomlinson said many rounds zipped through the air on his property, chewing up a stand of timber trees and forcing him to move his small herd of cattle to a pasture where they aren’t at risk of stopping a stray bullet.
Tomlinson, who owns guns himself, said he sometimes has friends over for target practice. But it’s not comparable to what goes on at Bell’s place, he said.
“We’re not over here with fully automatic weapons, 40-round clips, shooting thousands of rounds,” Tomlinson said. “It’s a completely different situation. I would use the term reckless endangerment.”
Bell, who moved into his home in 2019 and bought it earlier this year, said he believes he and his friends were unfairly singled out.
“Everybody shoots around here. So why you going to have me stop shooting?” Bell said. “I thought it was about these people telling me what to do with my land.”
")
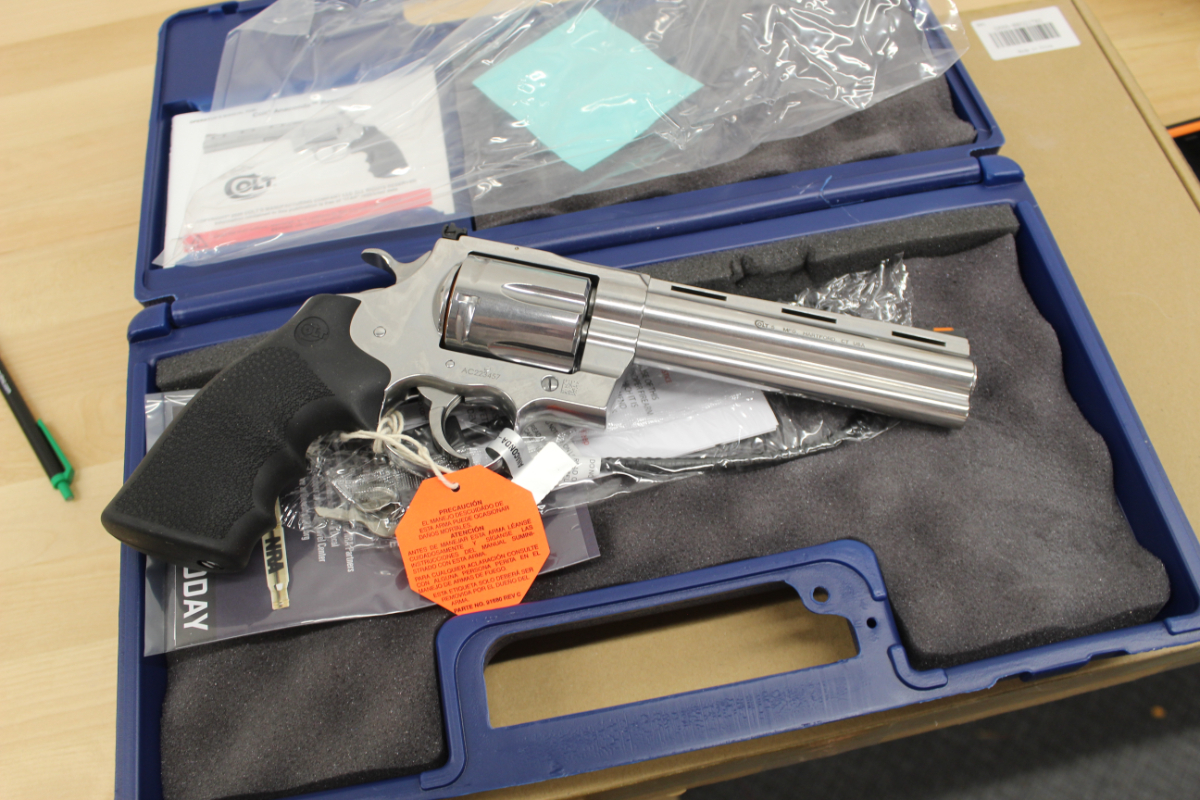
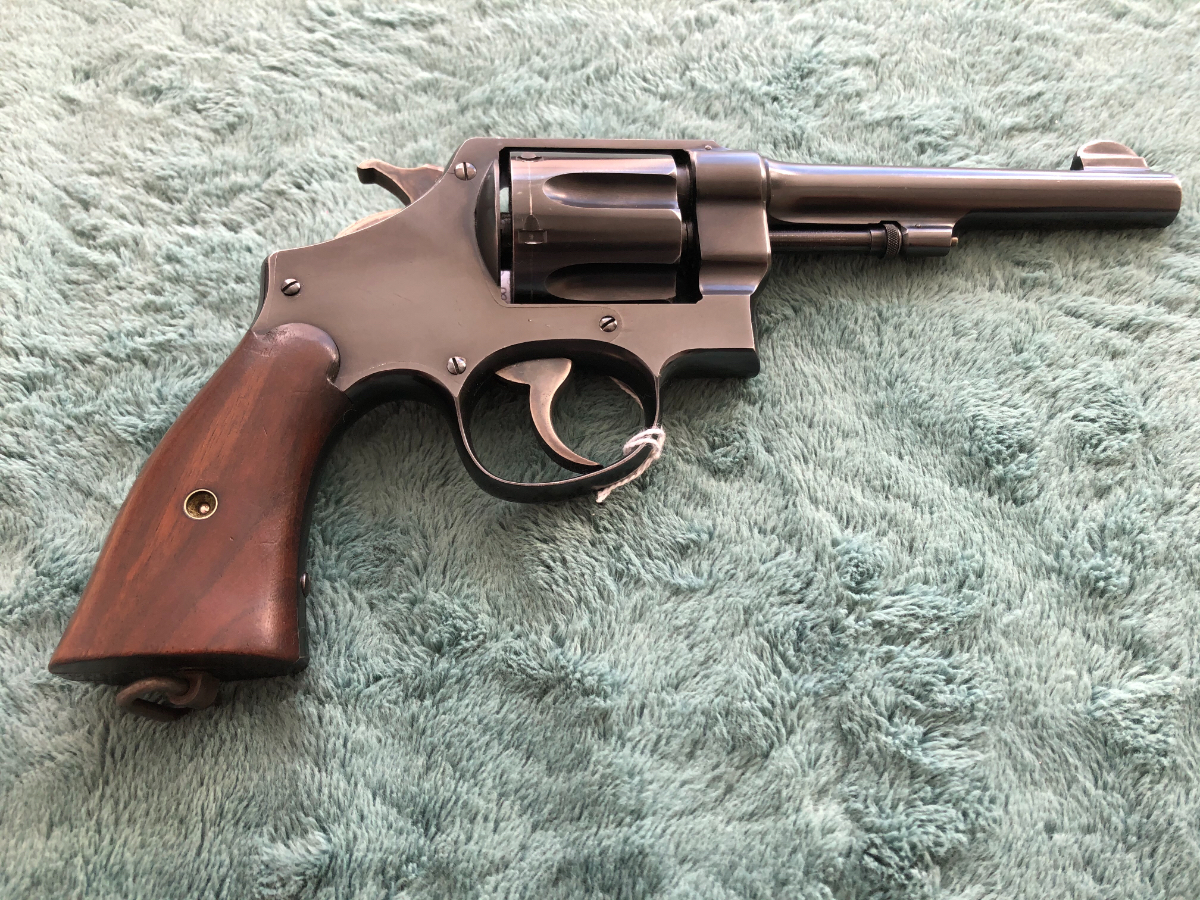
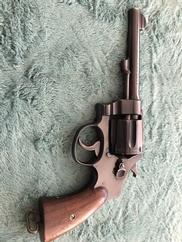
Weapons that belong to a member of the Choppa Community. (Matt McClain/The Washington Post)
Yet even Bell, speaking to a Washington Post reporter in his home hours after he had sat there in handcuffs while sheriff’s deputies searched the premises, acknowledged that things had gone too far.
“It just went overboard,” he said.
‘I don’t want them shot’
Bell began hosting shooting days on his land in 2021. The events were organized by Mark “Choppa” Manley, a social media influencer and former D.C. security guard who promoted the site as home to the “Choppa Community” — an incubator of firearms education and ownership for African Americans.
On Sundays, amid the aroma of grilling burgers, kids would take classes in basic gun safety with plastic pistols while the grown-ups lined up for target practice with 9mm handguns and AR-style rifles. Manley catered in particular to Black residents of the District and Prince George’s County who were seeking to arm themselves for protection amid spikes in violent crime. Visitors were not charged, although ammunition was sold, as well as classes for concealed-carry licenses.
“It was like a family day,” Manley said.
")
Mark Manley holds a rifle at the gun range in July. He is now seeking another home for his operation. (Eric Lee for The Washington Post)© Eric Lee/For The Washington Post
Yet some of Bell’s neighbors didn’t share that view. Disturbed by the noise and risk of errant gunfire, nearly 40 of them supported a petition demanding that the range be shut down, the Southern Maryland News reported. Tomlinson, in particular, said he feared for his safety, since his farm sits downrange from a backstop for bullets on Bell’s property that he called “totally ineffective.”
“I have moved my animals to the other side of the farm,” he said. “I don’t want them shot.”
Tomlinson said he first brought his complaints to the county about a year ago. But it was not until September — in anticipation of an especially large crowd for Manley’s birthday on Sept. 11 — that government officials took decisive action. On Sept. 9 the county attorney’s office filed an emergency petition for an injunction against shooting on the property.
In an attached affidavit, the county’s planning supervisor said regulations prohibited the gun range unless it was granted a special exception to operate in an area zoned for agricultural conservation. No application for such an exception had ever been filed, she said.
The county attorney’s office declined to discuss the case with The Post. Charles County spokeswoman Jennifer Harris said in a statement that officials’ “top concern is for the health, safety, and welfare of the community. We achieve that through the enforcement of regulations that must be followed by property owners.”
Judge Karen Abrams granted the order, stating that the shooting happening at the range was illegal and that a failure to enforce the zoning laws “encourages citizens to ignore the very regulations that are implemented to protect them and others.”
Manley cleared out and started looking for a new site in Virginia. “I could tell Charles County wasn’t going to let up,” he said.
Yet around the same time, county officials came up against a new challenge. It was heralded by the filing of perplexing documents — adorned with symbols including the star and crescent and the pyramid-tip “Eye of Providence” that appears on the back of the dollar bill — asserting that the dispute over Bell’s land was subject to the terms of an 1836 treaty between the United States and Morocco.
")
Booking photo of Lamont Butler from a decade ago. (Prince George’s County Police Department)
‘Moorish American national’ charged with trying to take mansion
Among those documents was a “writ of error” signed by a man identifying himself as Lamont Maurice El and claiming that he was the consul general of the “Morocco Consular Court at the Maryland state republic.”
The consul, whose real name is Lamont Maurice Butler, had some experience with Maryland’s judicial system. In 2013, he was convicted on multiple charges stemming from his attempt to occupy a 12-bedroom Bethesda mansion. The ideology that had fueled that escapade was the same he later brought to bear in the legal wrangling over the property on Fire Tower Road.
The ‘Moroccan Empire’
Moorish Americans, also known as Moorish sovereign citizens, believe themselves to be the inheritors of a fictitious empire that they say stretched from the present-day kingdom of Morocco to North America, with Mexico and Atlantis thrown in for good measure. They claim the same protections from U.S. legal proceedings that are granted to foreign citizens, while simultaneously asserting their rights to take over properties — often well-appointed homes owned by other people — that they say are still part of the “Moroccan Empire.”
Bell declared his Moorish American citizenship in September, according to court documents. He told The Post that he was still struggling to understand much of the group’s doctrine but that he found it “very educational.”
Among the things he had learned, he said, was that he should consider himself exempt from the county’s legal actions — in part because government officials did not refer to him in court documents by the Moorish variant of his name, Byron David Bell-Bey.
“They weren’t really talking to me,” he said.

The mansion in Bethesda that was occupied by Moorish Americans in 2013.© Tracy A. Woodward/The Washington Post
Butler, who had attended the weekend shooting gatherings when they were overseen by Manley, joined with other Moorish Americans to reopen the range, charging $25 a head and promising that “security will be in full force for everyone’s safety and protection” under Moroccan consular jurisdiction.
The group of Moorish Americans to which Butler belongs did not respond to requests for comment by email and through their website. Officials at the genuine Moroccan Embassy in Washington also did not respond to a request for comment.
On Nov. 13, Butler and another Moorish American, George Neal-Bey, tried to intervene when Charles County sheriff’s deputies pulled over a third member of the group. In a video that the Moorish Americans later posted online, Butler — wearing a camouflage uniform, dark headscarf and a pistol on his hip — can be seen approaching the deputies on the side of the road. Four of them then abruptly wrestle him to the ground while a fifth stands by with his gun drawn.
Butler and Neal-Bey were arrested and later indicted on various gun-related charges. Butler was also charged with resisting arrest. A judge ordered them held without bail. A hearing in their case is scheduled for Dec. 30 in Charles County Circuit Court.
Their case files have begun to thicken with documents bearing esoteric symbols. On Dec. 7, Butler filed a handwritten affidavit demanding acknowledgment of his treaty rights.
Bell, who until recently ignored the court order to close the range and has not appeared for court hearings, is now facing a $350,000 sanction for contempt of court. (Under the terms set by the judge, Abrams, $1,000 will be taken off the fine for every week that no shooting takes place on his property.) And just last week he learned that he could face further legal troubles.
On the morning of Dec. 21, Bell said, he and his wife, Chrystal, were awakened by a loud knocking, followed by the busting in of their door. A group of sheriff’s deputies then searched his home, he said, taking away his guns and a computer.
The warrant shared with Bell — which he showed to The Post — contains few details but indicates that the search was conducted as part of an investigation into possible possession of illegally owned or modified firearms, such as machine guns or short-barreled shotguns.
The sheriff’s office declined to comment.
Bell said the officers who searched his home were “very cordial.”
“They could have tore the house clean up,” he said. “But they didn’t.”
And though it took a while, the original problem on Fire Tower Road could now be resolved: Bell says there will be no more shooting on his property. As darkness filled the windows of his kitchen on a lonely plot of land nearly 4,000 miles from Morocco, he said he had gotten the point.
“You got to follow the rules,” Bell said.


Categories
Romarm PSL – 54C


When a brand-new cartridge is announced, there are always “the celebrators”; those who shout “hurrah!” and throw their hats in the air. There are also “the naysayers”; those who claim we’ve never needed another cartridge since the .30-06 and trash-talk the new round all over the web. And then there are the folks who observe with interest, evaluating the new cartridge to see what it’s made of.
In time, most new cartridges dwindle in popularity. Others, like the venerable .270 Winchester and the 7mm Remington Magnum, prove themselves and develop a sturdy reputation for reliability, accuracy and performance. Still others, like the .30-06 Springfield and 6.5 Creedmoor, become superstars, immortalized by their performance and popularity.
Recent decades have seen unprecedented advancements in cartridge design: Accuracy standards have tightened significantly. We can now analyze bullet performance during flight via doppler radar. Bullets are more streamlined and aerodynamic, riflescopes adjust for distance with the twist of a dial, and shooters have learned that they can consistently shoot three times further than they could a quarter-century ago. Cartridge development has indeed reached a new level.
Enter the 6.8 Western
Early in 2020, I was informed of a new cartridge being developed by Winchester and Browning. As a gunwriter, that kind of news always captures my interest, especially since it had been some time since Winchester had announced a new round. A Browning X-Bolt was soon headed my way, chambered in the yet-to-be-announced cartridge. I was excited to see what it could do on the range and in the field. Initial accuracy testing was very promising, and that fall, I was fortunate enough to kill a monster public-land bull elk with the cartridge. Shortly thereafter I watched a buddy harvest a great coues deer buck with the same round, making a perfect first-shot kill at 496 yards.
Almost two years later, the 6.8 Western cartridge has proven itself to be remarkably accurate at the range and truly capable at long distances. Results in the hunting field have been equally impressive. So now the question is, will it last? In 10 years, will the 6.8 be just another has-been cartridge with a tiny corner spot on the gun-store ammo shelves? Or will it reach the respected status maintained by calibers like the .270 Win. and 7mm Rem. Mag.? Might it be capable of stardom like the “ought-six” and Creedmoor? Only time will tell.
Today’s Demanding Arena
Fifty years ago, a cartridge in America simply needed to be capable of grouping under 1.5 inches at 100 yards, shooting fast (flat) enough to enable a dead-on hold to 250 yards, and hitting hard enough to kill a deer or elk. Meet those requirements and you had an all-American cartridge. Not so today.
Today in America, a cartridge must be capable of shooting long, aerodynamic, heavy-for-caliber projectiles that carry energy and velocity way out yonder. It must boast accuracy the old-time riflemen only dreamed about; if it won’t shoot into .75-MOA or less it’s going to get dumped along the side of the road. And it’s got to look cool. Meet all these requirements and you just might have a popular new American cartridge.
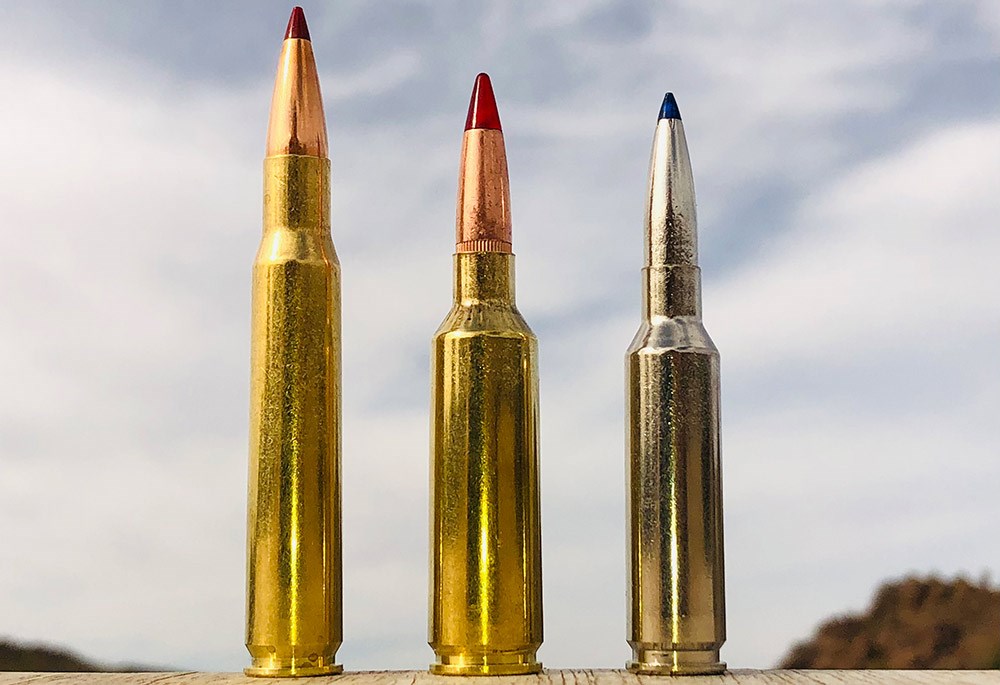
That in mind, let’s compare the four proven cartridges I’ve mentioned against the 6.8 Western. We’ll look at four practical elements:
Accuracy: I’ll give a subjective analysis here, based on 3½ decades of shooting experience.
Velocity: Here I’ll provide muzzle velocity in feet per second (fps) as well as velocity at 1,000 yards.
Aerodynamics: I’ll cover G1 ballistic coefficient (BC) numbers (higher is better), drop (which illustrates a cartridge’s ability to carry velocity and energy) and wind drift (wind-bucking ability).
Estimated Maximum Lethal Range: To attain this number I’ve simply looked at the maximum distance a bullet maintains 2000 or more fps of velocity. Some bullets will expand adequately at lower velocities, but we knowthat almost any hunting bullet will expand nicely at 2000 fps and faster. So, I’ve chosen that as my minimum velocity threshold. Yes, you can almost certainly hit a game animal at farther distances than those shown. But I’ve seen big game shot perfectly at long range when velocity was not adequate and the bullets did not expand. The outcome was not desirable.
*Author’s Note: These numbers are for comparison’s sake only. If you plan to shoot at game at extended ranges, do your research and learn exactly what your bullet’s minimum expansion velocity requirement is. Calculate at what distance your bullet drops below that threshold, and keep shots inside that range.
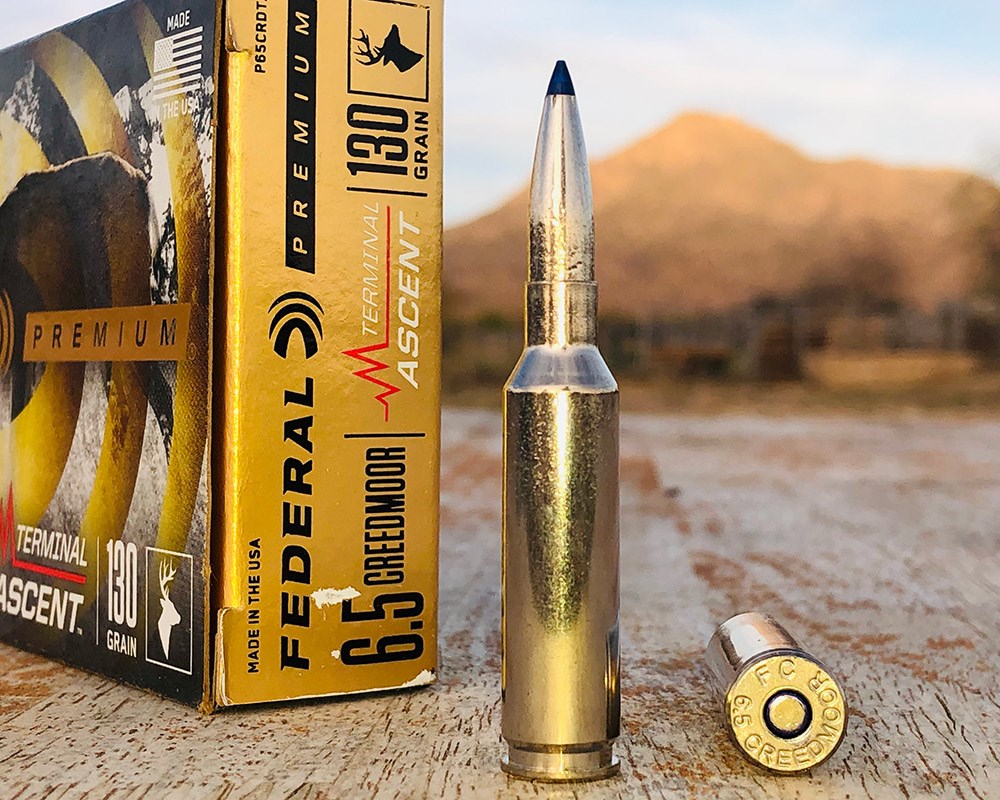
6.5 Creedmoor
This is the favorite child of modern cartridge design. Originally built for 1,000-yard competitive shooting, the 6.5 Creedmoor is now widely accepted as an awesome hunting round as well, especially for deer-sized game. It has achieved unprecedented popularity due to what might be summed up as it’s “friendly nature”. It’s superbly accurate; with good ammo, most rifles will produce .75-MOA or better accuracy. Aerodynamics are the Creedmoor’s game: barrels are typically rifled with 1:8-inch twist and long, high-BC projectiles are the norm. Recoil is mild. It’s not super fast, which is a double-edged sword; barrel life is superb, but velocity drops below a reliable expansion threshold relatively early. Using long-range ammo, the Creedmoor’s 2000 fps range is just over 600 yards.
.270 Winchester
The .270 Winchester has been an American favorite for nearly a century, and rightly so. It is mild tempered, accurate and shoots superbly flat out to 300 yards or so. It’s great for deer- and pronghorn-sized game, and with premium bullets and careful shot placement, is adequate for elk. Developed long before laser rangefinders were invented, it met the needs of the day by sending light(ish) projectiles downrange as fast as possible, to eliminate the need for hold-over as far out as practical. This necessitated a relatively slow rifling twist rate, around one turn in 10 or 12 inches. This is the lone fact that makes the .270 less capable at long range; those slow-twist barrels don’t stabilize long, high-BC projectiles well. Typical accuracy is in the 1 to 1.5-MOA range, though some rifles will shoot significantly better. With quality hunting ammo, this cartridge maintains 2000 fps velocity to around 600 yards. After that velocity diminishes very quickly.
7mm Remington Magnum
The 7mm Remington Magnum has long been a favorite of Western hunters, providing flat-shooting performance like the .270 Win. on steroids. The 7mm, however, seamlessly made the transition to high-BC bullets, rapidly becoming one of America’s favorite long-range hunting rounds. It’s awesome for all big game, including moose. Barrel life is not awesome, nor is magazine capacity, but this cartridge flat-out gets the job done. Accuracy is as good as the rifle and the ammunition you feed it; most premium-ammo-fed modern rifles will shoot under 1-MOA, and some will shoot much better. Recoil is moderate, and 2000-plus fps velocity superb at around 800 yards.
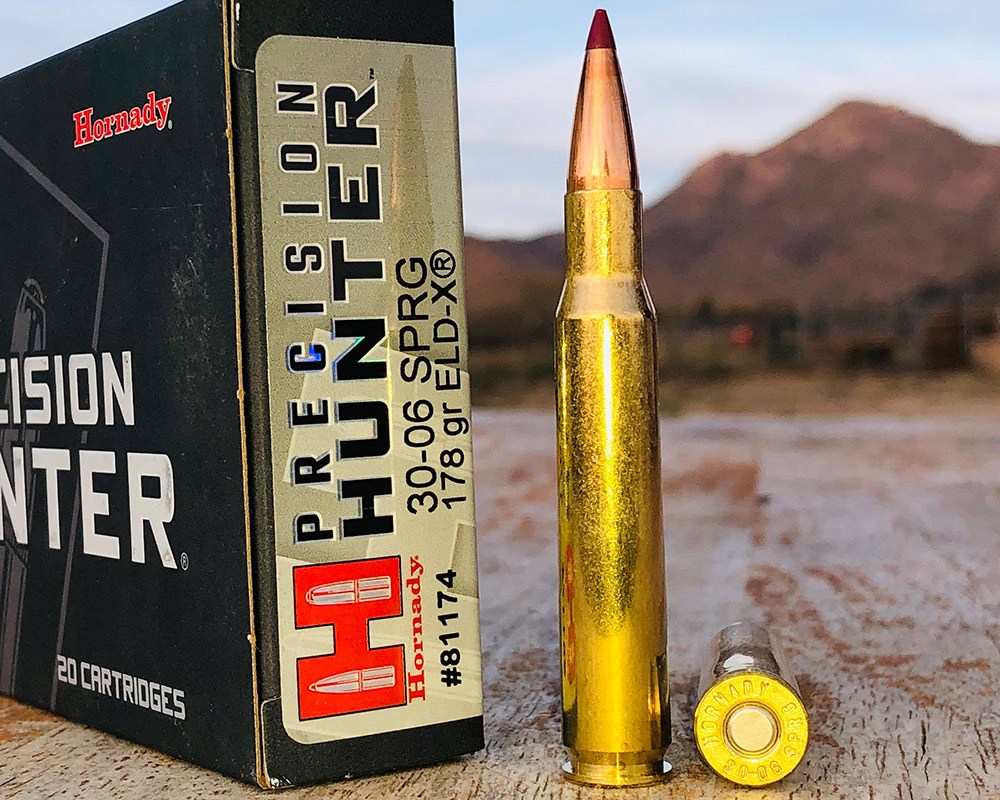
.30-06 Springfield
This is one of my all-time favorite calibers, and I’m not alone in that sentiment. For well over a century, it’s been America’s favorite go-to cartridge for big game. It served well in both world wars. The .30-06 Springfield is a noble round. It’s not as flat shooting as the .270 or 7mm, but it shoots flat enough and hits significantly harder. Recoil is on the upper end of moderate. But like the .270, most .30-06 barrels lack sufficient twist rate to stabilize long, aerodynamic projectiles. And it doesn’t have quite the powder capacity needed to send heavy, high-BC .30-caliber bullets downrange at significant enough velocities to perform well at very long range. Accuracy is generally in the 1- to 1.5-MOA range (which, back when the round was developed, was incredibly good), though high-end rifles can and often do shoot much better. With good ammo, the .30-06 will stay above 2000 fps to 500-plus yards.
6.8 Western
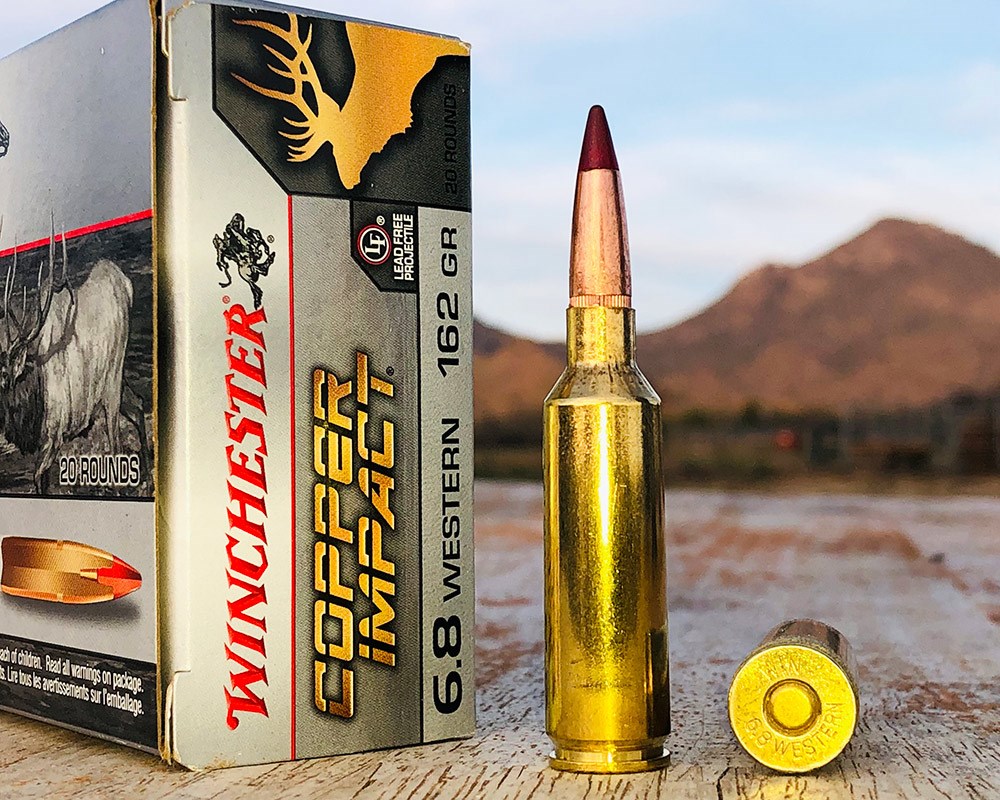
Since it’s announcement in early 2021, the 6.8 Western has developed an inspiring reputation for accuracy. The cartridge was developed in collaboration by Winchester and Browning, and was initially chambered in Browning X-Bolt rifles. These rifles usually averaged 0.5- to 0.75-MOA accuracy—like I said, inspiring. The round looks good on paper too; not super fast, so barrel life should be good, yet fast enough to carry way out yonder. Standard barrel twist rate is suitable for long, heavy-for-caliber projectiles. Overall cartridge length is 2.995 inches, short enough to chamber in short-action rifle actions, which are slightly faster to cycle and lighter in weight. Typical bullet weights are adequate for any North American game except for the big bears. Recoil is moderate, and with long-range ammo, the round maintains 2000 fps velocity to beyond 800 yards. In the hunting field, the Western has exceled. Though I don’t care to brag about such things, I made the longest hunting shot of my life with the 6.8 on a quartered-away bull elk at dusk. The bull dropped in his tracks to an accurate first-round hit.
Conclusion
Will the 6.8 Western become immortal as an American hunting round? Only time will tell, though in my opinion, it has all the makings. Could it become a superstar like the 6.5 Creedmoor and the .30-06 Springfield? Possibly, though only two hunting cartridges have developed that kind of superpower in history, so it’s not likely. Might it become an American standard, like the .270 Winchester and the 7mm Remington Magnum? I think so. It is accurate, forgiving, hard-hitting and superb at long range. It even has a catchy name. Early in this article we posed the question; “Is the 6.8 Western as good as it sounds?” Why yes, yes it is.
Comparison Table
Data was collected via manufacturer-advertised BC and velocity numbers, which were then crunched in the author’s Ballistic AE app.
| Cartridge/Bullet | G1 BC | Muzzle Velocity | Drop at 500 Yards in Inches | Wind Drift at 500 Yards in Inches | 2000 fps Threshold | 1,000-Yard Velocity |
| 6.5 CM/Hornady 143-gr. ELD-X | 0.623 | 2700 fps | 42” | 4.4” | 615 yds
|
1618 fps |
| 6.5 CM/Federal Premium 130-gr. Terminal Ascent | 0.532 | 2800 fps | 40.4” | 5.1” | 590 yds | 1537 fps |
| .270 Win./Nosler 130-gr. AccuBond | 0.435 | 3060 fps | 35.3” | 5.7” | 620 yds | 1483 fps |
| .270 Win./Nosler 130-gr. Partition | 0.416 | 3060 fps | 35.8 | 6.0” | 590 yds | 1430 fps |
| 7mm Rem. Mag./ Federal Premium 155-gr. Terminal Ascent | 0.586 | 3000 fps | 33.7” | 4.1” | 795 yds | 1777 fps |
| 7mm Rem. Mag./Hornady 162-gr. ELD-X | 0.631 | 2940 fps | 34.6” | 3.8” | 805yds | 1807 fps |
| .30-06 Sprg./Nosler 180-gr. AccuBond | 0.507 | 2700 fps | 44.5” | 5.7” | 495 | 1432 fps |
| .30-06 Sprg./Hornady 178-gr. ELD-X | 0.552 | 2750 fps | 41.6” | 5.0 | 580yds | 1539 fps |
| 6.8 Western/Nosler 165-gr. AccuBond LR | 0.620 | 2970 fps | 33.9” | 3.9” | 820 yds | 1812 fps |
| 6.8 Western/ Winchester 162-gr. Copper Impact |
0.564 | 2875 fps | 37.4” | 4.6” | 680 yds |